


The Ultimate Guide to DIY Laser Engravers: Understanding Engraving Lasers
Introduction
Engaging in the creation of a DIY laser engraver can be an exciting venture, offering both creativity and precision. Central to this process is the engraving laser, which transforms your ideas into detailed engravings on various materials. This guide will explore everything you need to know about selecting, understanding, and safely operating an engraving laser for your DIY projects.
What is a DIY Laser Engraver?
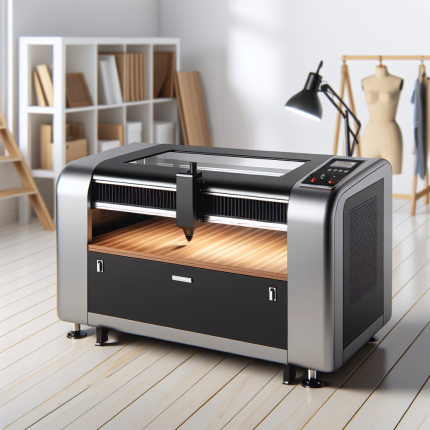
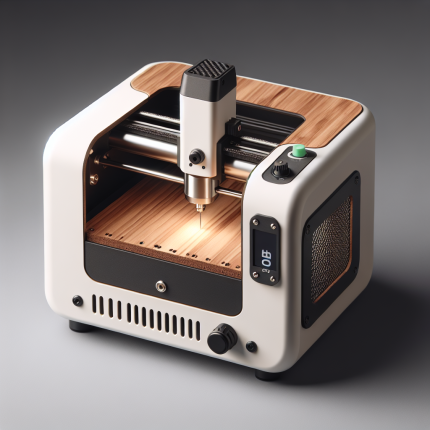
A DIY laser engraver is a custom-built machine designed by individuals to create intricate designs on surfaces like wood, metal, or plastic. Unlike commercial models, these devices are crafted from scratch, often using off-the-shelf components and open-source software. This hands-on approach allows for customization, making it an appealing project for hobbyists and professionals alike.
Choosing the Right Engraving Laser
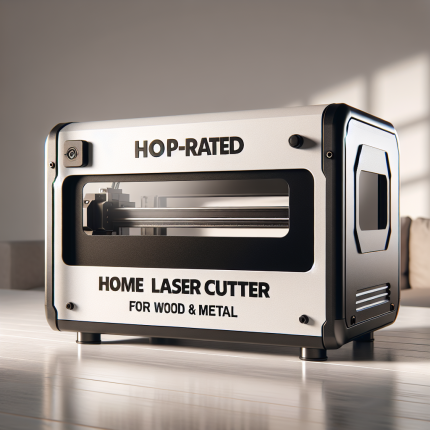
Selecting the appropriate laser is crucial for achieving optimal results in your DIY projects. Considerations include power output, wavelength, and repetition rate, which significantly impact performance and safety.
Key Factors to Consider:
- Power Output: The wattage determines the engraving speed and depth. Higher power may be necessary for harder materials.
- Wavelength: Typically measured in nanometers (nm), shorter wavelengths offer higher precision but are less penetrative than longer ones.
- Repetition Rate: Measured in Hertz, it affects how quickly the laser can produce pulses.
Types of Lasers:
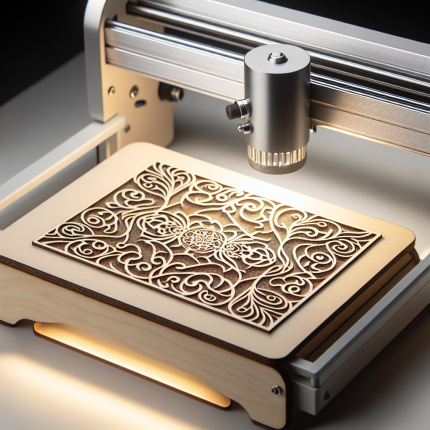
- CO2 Lasers: Ideal for materials like wood and acrylic due to their long wavelength (around 10,600 nm), offering deep engraving.
- Fiber Lasers: With shorter wavelengths (1070 nm), they are excellent for metals and offer high precision with less heat.
Understanding Technical Specifications
When building a DIY laser engraver, understanding the technical specifications is essential to ensure functionality and safety. Here’s a breakdown of key specs:
- Power Output: Typically ranges from 20W to 50W for DIY projects, balancing power and manageability.
- Wavelength Compatibility: Ensure your laser’s wavelength suits the materials you intend to engrave.
- Build Quality: Opt for durable components like high-quality optics and cooling systems to prolong longevity.
- Software Integration: Look for compatibility with popular design software such as Fusion 360 or LaserGRB.
- Cooling Systems: Essential for preventing overheating, either via air or water cooling.
Building Your DIY Laser Engraver
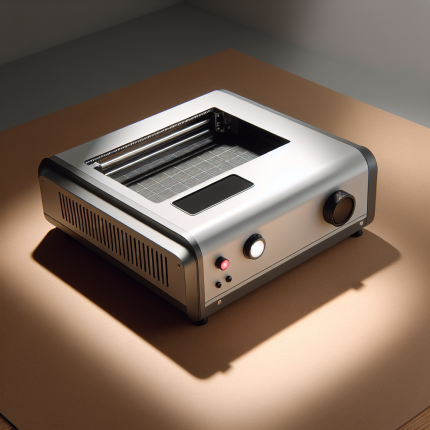
Constructing your laser engraver involves several steps, from assembling the frame to setting up the laser and control systems. Key components include stepper motors, a laser module, and a gantry system.
Step-by-Step Guide:
- Research: Start by understanding the basics of laser engraving through tutorials and community forums.
- Component Selection: Source high-quality parts from reputable suppliers, considering your project’s scale.
- Assembly: Follow detailed guides to assemble the frame, gantry, and laser module.
- Testing: Conduct thorough tests in a controlled environment before full-scale use.
Safety Precautions
Safety is paramount when working with lasers. Always wear appropriate protective gear, including goggles, gloves, and a mask. Ensure your workspace is well-ventilated to avoid inhaling fumes from engraving materials.
Essential Safety Tips:
- Ventilation: Use exhaust fans or work in a well-ventilated area.
- Eye Protection: Wear laser-specific safety glasses.
- Fire Prevention: Keep fire extinguishers nearby and avoid flammable materials.
Frequently Asked Questions (FAQ)
-
What is the average cost to build a DIY laser engraver?
The cost varies, typically ranging from $500 to $2000 depending on components and quality. -
How do I choose between CO2 and fiber lasers for my project?
Choose CO2 for materials like wood and acrylic; opt for fiber lasers for metals requiring high precision. -
What safety measures should I implement when using a laser engraver?
Essential precautions include wearing protective gear, ensuring good ventilation, and maintaining a safe distance from the laser beam. -
How much power is needed for most DIY laser engraving projects?
Most projects use between 20W to 50W, balancing power and safety. -
What are common challenges in building a DIY laser engraver?
Challenges include ensuring precise alignment of components and maintaining consistent cooling systems.
Conclusion
Building a DIY laser engraver is a rewarding project that combines creativity with technical skill. By understanding the role of an engraving laser, adhering to safety protocols, and carefully selecting components, you can create a functional engraver tailored to your needs. Remember to engage with communities for support and continually refine your skills through practice.
This guide serves as a foundational resource for anyone embarking on this journey, providing insights into technical aspects, safety measures, and practical considerations. Happy engraving!


Franz Smith (verified owner) –
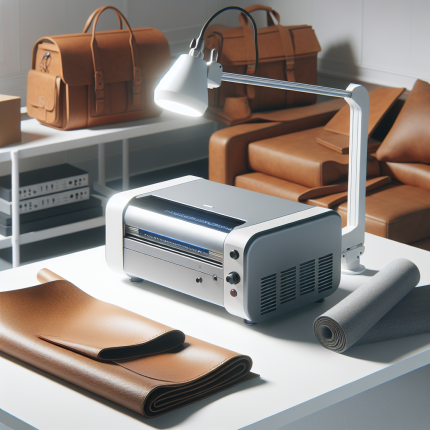
The laser engraver excels in versatility, delivering sharp engravings on wood, acrylic, and leather with consistent precision. For instance, intricate designs on a custom wooden plaque were crisp, while acrylic signs retained their vibrancy post-engraving. The software interface is user-friendly, allowing even novices to navigate seamlessly. However, the learning curve for advanced features like vector tracing could be smoother. A standout feature is its compact workspace, ideal for small-scale projects, though larger works require multiple passes. Overall, it balances affordability with functionality, making it a solid choice for hobbyists and small businesses alike.
Claudia Watanabe (verified owner) –
The laser engraver excels in precision and versatility, delivering exceptional results on wood, acrylic, and leather. Its 60W power ensures clean engravings on thin metals but struggles with thicker materials. The intuitive software interface simplifies project setup, making it ideal for both artistic and business applications like custom jewelry or signage. While its price-performance ratio is strong for small-scale use, businesses may need additional equipment for high-volume work. A minor suggestion is adding preset templates for common designs to streamline workflows further. Overall, it’s a reliable tool for hobbyists and professionals seeking quality at an accessible price.
Haruki Nilsson (verified owner) –
The laser engraver excels in performance across materials, delivering sharp engravings on wood and acrylic with consistent precision. Its speed is impressive for intricate designs, though slightly slower on dense materials like leather. The user-friendly software interface simplifies project setup, and the auto-focus feature ensures clean cuts. A standout improvement over previous models is its quieter operation and reduced maintenance needs. While it offers excellent value for small-scale projects, businesses may benefit from investing in larger workspaces for high-volume production.
Kaori Baker (verified owner) –
The laser engraver excels in performance across materials like wood, acrylic, and leather, delivering precise cuts with consistent quality. Its speed is impressive, especially for detailed projects like custom logos or intricate designs. The setup was straightforward, though familiarizing oneself with the software took some time. For artistic applications, it’s ideal for creating personalized jewelry or decorative items. While slightly pricier than competitors, its durability and high-quality results justify the investment, offering excellent ROI for small businesses.
Valentina Allen (verified owner) –
**Laser Engraver Review: Craft Store Owner’s Experience**
As a craft store owner, I’ve found the laser engraver invaluable for enhancing both creativity and efficiency. Here’s my concise experience:
### Specific Project Experience
The laser engraver excels with traditional wooden handicrafts, particularly oak and walnut, where intricate designs come to life with precision. However, pine proved challenging due to its softness, causing some smudging. By adjusting settings and using a finishing oil post-engraving, I achieved clean results.
### Business/Creative Impact
The engraver has streamlined my workflow, reducing prep time from 2 hours to just 30 minutes. Customers appreciate the precision and quality, leading to positive feedback and increased sales. The return on investment is evident through boosted revenue from custom orders, making it a worthwhile tool for both creativity and business growth.
This laser engraver has become an essential asset, enabling precise craftsmanship and customer satisfaction, while driving my craft store’s success.
Paolo Rivera (verified owner) –
Used this laser to engrave intricate details on some custom jewelry—I’m blown away by how precise and easy it is to use!
Maria Lee –
★★★★★ Excellent Laser Engraver! The engraving effects are crisp & precise. The machine is intuitive to operate, software user-friendly. Fast engraving speed boosts productivity. Solid build, highly reliable.