The Ultimate Guide to Engraving Acrylic with Laser: Tools and Techniques
Are you looking for a precise and efficient way to create stunning designs on acrylic materials? Engraving acrylic with a laser is a popular method among hobbyists, small businesses, and professionals alike. With the right tools and techniques, you can achieve intricate details and professional-quality results. In this article, we will explore everything you need to know about engraving acrylic using a laser, including the best equipment, safety precautions, and creative tips. Let’s dive in!
Why Use a Laser for Acrylic Engraving?
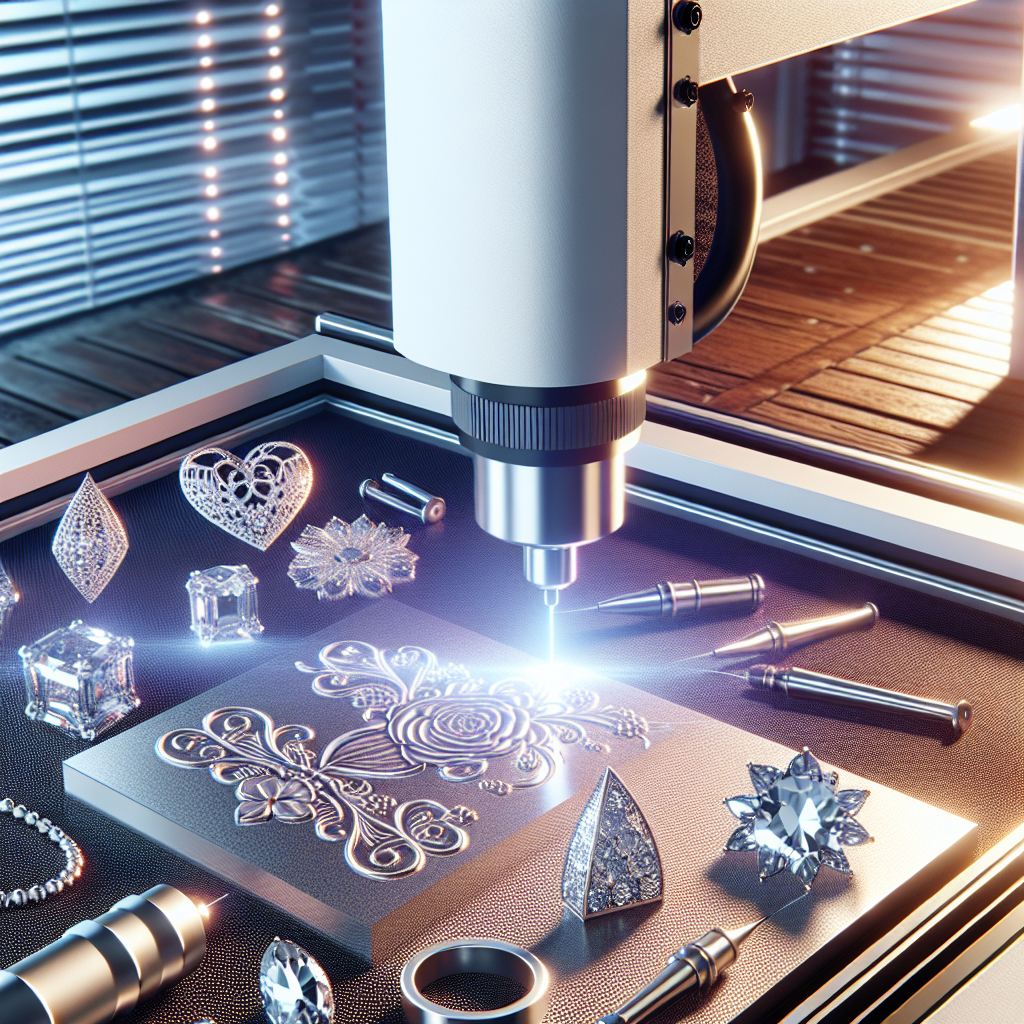
Laser engraving has become a go-to method for many crafters and manufacturers due to its precision and versatility. When it comes to acrylic materials, laser engraving offers several advantages:
- High Precision: Lasers can create intricate designs with pinpoint accuracy, making them ideal for detailed patterns and text.
- Speed: Compared to traditional methods like hand carving or CNC milling, laser engraving is much faster, especially for complex projects.
- Non-Contact Process: Since there’s no physical contact with the material, there’s less risk of damage or warping to the acrylic surface.
- Versatility: Lasers can engrave a wide range of materials, including wood, metal, glass, and, of course, acrylic.
If you’re considering laser engraving for your acrylic projects, it’s essential to choose the right equipment. One excellent option is the , which is also great for beginners. This machine offers high-quality performance and is designed to handle a variety of materials, including acrylic.
Choosing the Right Laser Engraver for Acrylic
Not all laser engravers are created equal. Selecting the right one depends on your project’s requirements, budget, and experience level. Here are some key factors to consider:
- Laser Power: Higher power lasers are generally better for thicker materials or darker acrylics. However, too much power can cause burning or discoloration, so it’s important to find the right balance.
- Focal Length: The focal length determines how precisely the laser beam is focused onto the material. A shorter focal length is better for detailed engravings, while a longer one is suitable for larger areas.
- Software Compatibility: Ensure your laser engraver is compatible with popular design software like Adobe Illustrator or CorelDRAW. Some machines also come with their own proprietary software.
- Budget: While high-end models offer more features, there are excellent entry-level options available for beginners and small businesses.
If you’re a small business owner or just starting out, the is a fantastic choice. It’s affordable, easy to use, and delivers professional-quality results.
Setting Up Your Project
Before you start engraving, it’s crucial to prepare your project properly. Here are some steps to follow:
- Design Preparation: Use design software to create or import your artwork. Ensure the design is compatible with your laser engraver’s resolution and scaling capabilities.
- Material Selection: Choose the right type of acrylic for your project. Thicker acrylic may require more powerful lasers, while thinner sheets are easier to work with for beginners.
- Machine Calibration: Adjust your laser engraver’s settings according to the material and design complexity. This includes setting the correct power level, speed, and focal length.
- Safety Precautions: Always wear protective eyewear and ensure proper ventilation when working with lasers, as they can produce fumes and debris.
By taking these steps, you’ll set yourself up for success and minimize the risk of mistakes during the engraving process.
Tips for Engraving Acrylic Like a Pro
Mastering laser engraving on acrylic takes practice, but with the right techniques, you can achieve impressive results. Here are some tips to keep in mind:
- Test First: Before committing to your final design, test your settings on a scrap piece of acrylic. This will help you fine-tune the laser power and speed for optimal results.
- Use Vector Files: Laser engravers work best with vector files, which are resolution-independent and ensure sharp lines and curves.
- Layering Techniques: For deeper engravings or multiple colors, consider layering your designs. This involves engraving at different depths to create a three-dimensional effect.
- Pacing Yourself: Don’t rush the engraving process. Slow and steady settings will yield cleaner cuts and smoother edges.
Remember, practice makes perfect! Start with simple designs and gradually work your way up to more complex patterns as you gain confidence and experience.
Maintenance and Cleaning
To ensure your laser engraver continues to perform at its best, regular maintenance is essential. Here are some tips:
- Clean the Lens: Dust and debris on the lens can reduce the laser’s efficiency and quality. Use a soft cloth and lens cleaner to keep it spotless.
- Inspect Belts and Pulleys: Over time, belts and pulleys can wear out. Regularly check for signs of damage or wear and replace them as needed.
- Calibrate the Machine: Periodically recalibrate your laser engraver to maintain accurate cuts and engravings.
- Store Properly: When not in use, store your machine in a dry, dust-free environment to prevent damage.
With proper care, your laser engraver will last for years and continue to produce high-quality engravings on acrylic and other materials.
Frequently Asked Questions
- Can I engrave colored acrylic?
Yes, you can engrave colored acrylic, but the results may vary depending on the color. Darker colors tend to show engravings more clearly than lighter ones. - How deep can I engrave into acrylic?
The maximum depth depends on your laser’s power and the thickness of the acrylic. For thinner sheets, you’ll have less room for deep engravings. - Can I engrave photos onto acrylic?
While it’s possible to engrave grayscale images, achieving detailed photo-quality results can be challenging. Vector-based designs are generally easier and more effective.
Conclusion
Laser engraving on acrylic is a versatile and rewarding craft that can elevate your projects to the next level. By selecting the right equipment, preparing your project carefully, and following best practices, you’ll be able to create stunning engravings with precision and ease.
If you’re looking for an excellent laser engraver for your small business or personal use, consider the . It’s designed to handle a variety of materials and projects, making it an invaluable tool for any creative professional.
So, fire up your laser engraver, load up your design software, and let your creativity shine! With a little practice and the right equipment, you’ll be creating beautiful acrylic engravings in no time.
Laser engraving on acrylic is an excellent way to add intricate details and professional finishes to various projects. To achieve the best results, follow these steps and tips:
- Choose the Right Laser Engraver: Opt for a machine like the best laser engraver for small business, which is ideal for both beginners and small businesses. Ensure it has sufficient power and compatibility with your design software.
- Prepare Your Design: Use vector-based files for cleaner engravings. Test your settings on scrap acrylic to fine-tune the laser’s power, speed, and focus.
- Material Selection: Choose acrylic sheets of appropriate thickness based on your project needs. Thicker materials may require higher power settings.
- Calibration and Safety: Calibrate your machine for optimal performance and always wear protective eyewear. Ensure good ventilation to handle fumes produced during engraving.
- Technique Tips:
- – Use layering techniques for depth.
- – Maintain a steady pace to achieve smooth cuts.
- – Consider vector files over raster for better clarity.
- Maintenance: Regularly clean the lens, inspect belts and pulleys, and recalibrate your machine to ensure longevity and performance.
By following these guidelines, you can create stunning engravings on acrylic efficiently. Whether for personal projects or business needs, investing in quality equipment and proper technique will elevate your craft.


