
How to Engrave Clear Acrylic with a Diode Laser
Engraving clear acrylic with a diode laser is a fascinating process that combines precision, creativity, and technology. Whether you’re a hobbyist or a professional, mastering this technique can open up endless possibilities for creating stunning designs on acrylic surfaces. In this article, we’ll guide you through the steps of engraving clear acrylic using a . We’ll also share tips to ensure your projects turn out beautifully every time.
Understanding the Basics of Laser Engraving on Acrylic
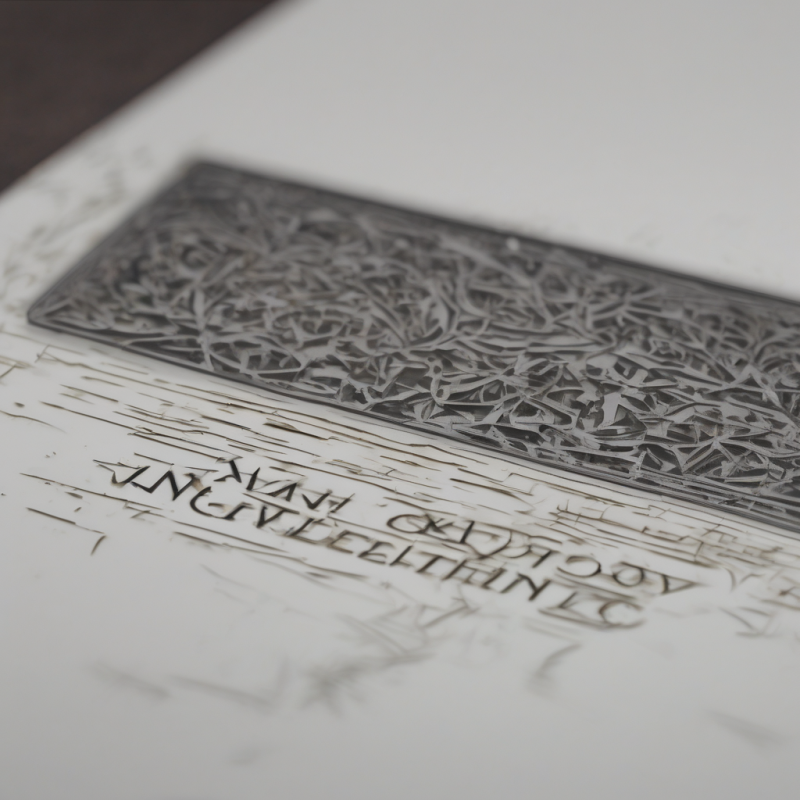
Before diving into the engraving process, it’s essential to understand how lasers interact with acrylic. Clear acrylic is a popular material for laser engraving because it responds well to laser light, creating a frosted or smoked effect that enhances text and designs. The diode laser works by focusing a beam of light onto the surface of the acrylic, causing the material to vaporize or change its properties at the point of contact.
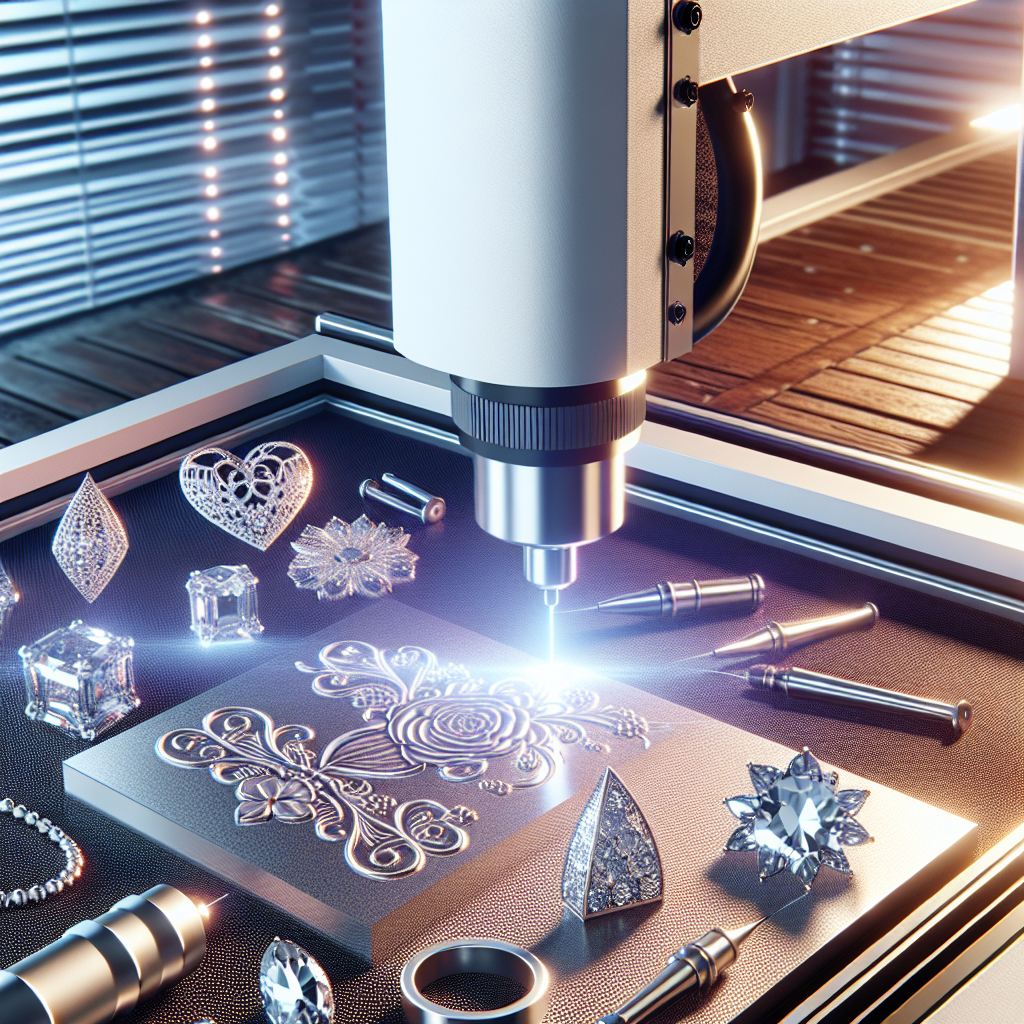
One of the key advantages of using a diode laser for engraving is its precision. Unlike traditional carving tools, which can leave rough edges, a laser produces clean and smooth results. However, achieving these results requires careful setup and attention to detail. Let’s explore the steps involved in creating your first acrylic engraving project.
Gathering Your Materials
To get started, you’ll need the following materials and tools:
- A high-quality diode laser cutter and engraver, such as the
- Clean, smooth clear acrylic sheets (available in various thicknesses)
- Laser-safe cutting mats or protective surfaces
- Digital design software for creating your artwork (e.g., Adobe Illustrator, CorelDRAW)
- Safety goggles and gloves
- Cleaning supplies (isopropyl alcohol, lint-free cloths)
Ensure all surfaces are clean and free of dust or debris before beginning your project. Dust particles can interfere with the laser’s performance and result in uneven engraving.
Preparing Your Design
The first step in any laser engraving project is to create or import your design into a compatible software program. Whether you’re creating a custom logo, a decorative pattern, or personal text, the design must be optimized for laser engraving on acrylic.
TIP: Use vector graphics whenever possible, as they provide crisp lines and smooth curves that translate well to laser engraving. Raster images (bitmaps) can also work but may require additional processing to achieve the desired effect.
If you’re unsure about how to set up your design for laser engraving, consider starting with simple shapes or text. You can gradually move on to more complex designs as you gain experience. Remember, practice makes perfect!
Setting Up Your Laser Cutter
Once your design is ready, it’s time to set up your laser cutter. Follow these steps to ensure optimal performance:
- Calibrate the laser: Adjust the laser’s power settings according to the thickness and type of acrylic you’re using. Thicker acrylic may require higher power levels, while thinner sheets can be engraved at lower settings.
- Fine-tune focus: Ensure the laser beam is focused correctly on the surface of the acrylic. A well-focused beam produces sharp engravings, while a defocused beam can lead to blurry or uneven results.
- Position the material: Place your clear acrylic sheet on the cutting mat, ensuring it’s aligned with the laser bed. Use clamps or weights to secure the material in place if necessary.
TIP: Test your settings on a small scrap piece of acrylic before engraving your final project. This will help you identify any adjustments needed for power, focus, or speed.
Engraving Your Design
With everything set up, it’s time to start engraving. Follow these steps for the best results:
- Engage safety features: Put on your safety goggles and gloves before powering on the laser cutter.
- Select your design: Upload your artwork to the laser cutter’s software and position it on the acrylic sheet according to your preferences.
- Start engraving: Initiate the engraving process by pressing the start button or following the prompts in the software. The laser will begin tracing your design, creating a frosted appearance on the acrylic surface.
TIP: Monitor the engraving process closely. If you notice any unevenness or discoloration, pause the machine and adjust the settings as needed.
Cleaning and Finishing Your Project
Once your design is engraved, it’s time to clean up your work. Use a soft cloth and isopropyl alcohol to wipe away any dust or residue from the surface of the acrylic. This will enhance the clarity of your engraving and give your project a polished look.
If you’re creating a decorative item, such as a plaque or award, consider adding protective coating to preserve the engraving over time. Many craft stores offer clear acrylic sprays that can be applied for this purpose.
Troubleshooting Common Issues
Like any skill, laser engraving takes practice to perfect. Here are some common issues and how to address them:
- Uneven engravings: This can occur if the laser is out of focus or if the material isn’t properly secured. Double-check your settings and ensure the acrylic is stable during engraving.
- Faded designs: If your engraving appears too light, increase the power level or slow down the engraving speed in the software.
- Burnt edges: Overheating can cause discoloration around the engraved area. Reduce the power level or adjust the focus to prevent this issue.
Frequently Asked Questions About Laser Engraving Acrylic
Here are some common questions and answers to help you get started:
- Can I engrave colored acrylic with a diode laser? Yes, but the results may vary depending on the color. Lighter colors tend to produce better contrast than darker shades.
- How thick can the acrylic be for engraving? Most diode lasers are capable of engraving acrylic up to 1/2 inch thick. Thicker materials may require higher power settings or a more robust laser system.
- Can I engrave patterns on both sides of the acrylic? Yes, but be cautious when flipping the material to avoid smudging or damaging the engraved surface.
Conclusion
Engraving clear acrylic with a diode laser is a rewarding process that allows you to create beautiful and functional items. With the right tools, techniques, and practice, you can achieve professional-quality results in no time. Whether you’re crafting custom gifts, home decor, or business signage, the possibilities are endless.
If you’re looking for a reliable laser cutter and engraver to get started, consider the . This versatile tool is perfect for both beginners and experienced crafters, offering precision and ease of use in one compact package.
So why wait? Gather your materials, fire up your laser cutter, and start creating stunning acrylic engravings today! Happy crafting!
how to engrave clear acrylic with diode laserhow to engrave clear acrylic with diode laser