
Mastering Laser Engraving on Wood: A Comprehensive Guide
Laser engraving has revolutionized the way we create intricate designs and patterns on various materials, including wood. This versatile technique offers precision, versatility, and a professional finish that is hard to achieve with traditional methods. If you’re interested in learning how to laser engrave wood, this article will guide you through the process, tools, and techniques needed to get started. Whether you’re a hobbyist or a professional, mastering laser engraving on wood can open up endless creative possibilities.
Understanding Laser Engraving
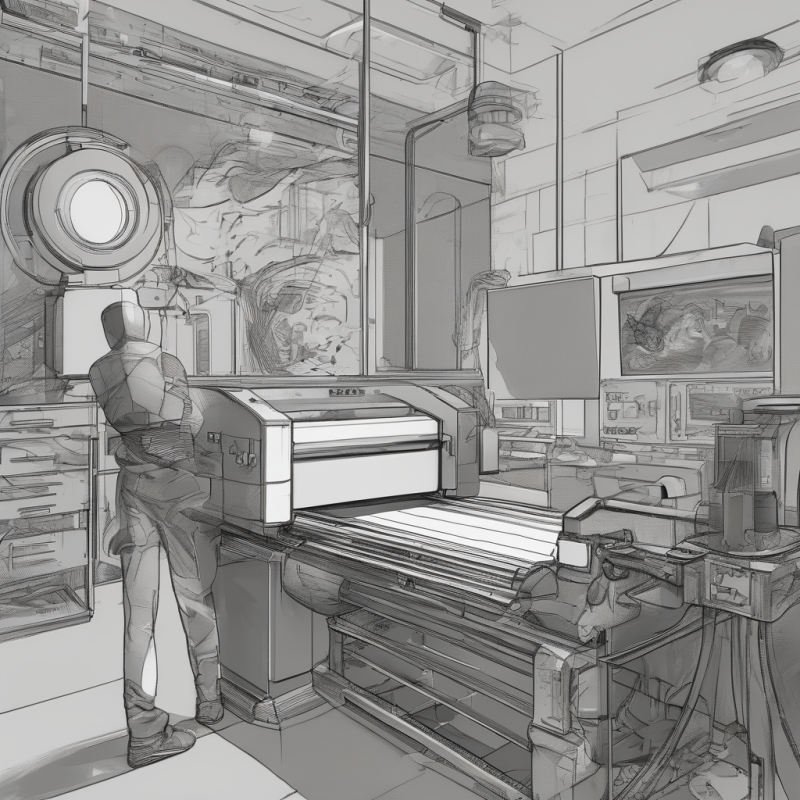
Laser engraving involves using a focused laser beam to etch designs into the surface of a material. Unlike traditional carving methods, laser engraving is non-contact and doesn’t require physical pressure, making it ideal for delicate materials like wood. The laser heats the wood’s surface, causing the cells to burst and create a permanent mark. This process allows for intricate details and crisp lines that are difficult to achieve manually.
To get started with laser engraving on wood, you need a few essential tools: a laser engraver, appropriate software for designing your patterns, and safety gear like goggles and gloves. The most popular tool for beginners is the laser engrave wood machine, which offers a user-friendly interface and high-quality results.
Selecting the Right Wood for Laser Engraving
Not all types of wood are suitable for laser engraving. The density, grain, and moisture content of the wood can significantly affect the outcome of your project. Here are some tips for selecting the right wood:
- Plywood: A popular choice due to its smooth surface and consistent grain. It’s easy to engrave and produces clean results.
- Oak: Known for its durability and attractive grain, oak is ideal for creating decorative items like signs or cutting boards.
- Maple: A hard wood with a fine texture, maple is perfect for intricate designs and detailed patterns.
- Birch: Lightweight and easy to engrave, birch is a great option for beginners.
Avoid using softwoods like pine or balsa wood, as they can splinter easily under the laser’s heat. Always ensure your wood is dry before engraving, as moisture can cause warping or uneven results.
Preparing Your Laser Engraver
Before you start engraving, it’s essential to set up your laser engraver properly. Follow these steps:
- Calibrate the machine: Adjust the focal length of the laser to ensure optimal focus on the wood surface.
- Test the settings: Experiment with different power levels and speeds to find the ideal combination for your chosen wood type.
- Clean the work area: Remove any dust or debris from the laser bed to prevent uneven engraving.
Your laser engrave wood machine is designed for ease of use, but it’s still important to familiarize yourself with its settings and capabilities. Spend some time practicing on scrap wood before tackling your main project.
Designing Your Engraving Pattern
The design you choose will determine the success of your laser engraving project. Use vector graphic software like Adobe Illustrator or CorelDRAW to create your patterns. Ensure your designs are scalable and compatible with your laser engraver’s resolution.
When designing, consider the following tips:
- Keep it simple: Start with basic shapes and gradually move on to more complex designs as you gain experience.
- Use bold lines: Laser engraving works best with thick lines and solid fills, as thin lines can be difficult to achieve accurately.
- Add texture: Incorporate patterns or textures into your design for a more dynamic finish.
If you’re unsure where to start, look for free laser engraving templates online. Many websites offer downloadable designs that you can customize to suit your needs.
Step-by-Step Guide to Laser Engraving Wood
Now that you’ve prepared your tools and designed your pattern, it’s time to start engraving! Follow these steps:
- Secure the wood: Place your wood piece on the laser bed and secure it with clamps or tape. Ensure it’s flat and stable to avoid movement during engraving.
- Import your design: Transfer your vector file to the laser engraver’s software and adjust the settings as needed. Make sure the design is centered on the work area.
- Start engraving: Turn on the laser and begin engraving. Monitor the process closely, especially if you’re working with a new wood type or design.
- Finish the piece: Once the engraving is complete, remove the wood from the machine and sand any rough edges to achieve a polished finish.
If you’re using the laser engrave wood machine, take advantage of its built-in safety features, such as automatic shut-off and emergency stop buttons. These features ensure a safe and hassle-free engraving experience.
Tips for Achieving Professional Results
To create high-quality laser engravings on wood, consider the following tips:
- Vary the power levels: Experiment with different power settings to achieve varying depths and shading effects in your design.
- Add color: While laser engraving itself doesn’t add color, you can enhance your engravings by staining or painting the wood after engraving.
- Use stencils: If you’re struggling with freehand designs, use a stencil to guide your engraving and create precise patterns.
Practice regularly to improve your skills and explore new techniques. Over time, you’ll develop a unique style that reflects your creativity and craftsmanship.
Common Issues and How to Avoid Them
Laser engraving on wood can be challenging for beginners, but with the right approach, you can avoid common mistakes:
- Burnt edges: Adjust your laser’s focus and reduce the power level if you notice burnt or charred areas.
- Uneven engraving: Ensure the wood is flat on the work surface and clean any debris from the laser bed before starting.
- Slow processing time: Increase the laser’s speed for larger or simpler designs to save time without sacrificing quality.
By addressing these issues early on, you can improve your engraving results and create professional-grade pieces. Remember, practice makes perfect!
Exploring Creative Applications
Laser engraving on wood offers countless creative possibilities. Here are a few ideas to inspire you:
- Custom furniture: Engrave intricate designs on tables, chairs, or cabinets for a unique and stylish look.
- Decorative signs: Create personalized signs for your home or business using bold fonts and artistic motifs.
- Gift items: Engrave custom messages or patterns on wooden boxes, trays, or coasters to create thoughtful gifts.
Leverage the versatility of laser engraving to bring your creative vision to life. Whether you’re crafting functional items or artistic masterpieces, the possibilities are endless.
Maintenance and Safety Tips
To ensure long-lasting performance and safe operation of your laser engraver, follow these maintenance tips:
- Clean regularly: Dust and debris can accumulate inside the machine, so clean it after each use with a soft cloth.
- Inspect the lens: Check the laser lens for smudges or scratches and clean them with a lint-free cloth to maintain optimal focus.
- Store properly: Keep your laser engraver in a cool, dry place when not in use to prevent damage from humidity or dust.
Safety should always be a priority when working with lasers. Wear protective eyewear and ensure proper ventilation in your workspace to avoid inhaling wood particles. Familiarize yourself with the manufacturer’s instructions for safe operation and maintenance of your laser engrave wood machine.
Conclusion
Laser engraving on wood is a rewarding and versatile craft that allows you to create stunning, personalized pieces. With the right tools, techniques, and practice, you can achieve professional-quality results and explore endless creative possibilities. Whether you’re a hobbyist or a seasoned artist, laser engraving offers a fun and fulfilling way to express your creativity.
Remember to stay patient, experiment with different styles, and always prioritize safety when working with laser equipment. Happy engraving!
Laser engraving on wood is an exciting craft that enables you to create unique and personalized pieces. Here’s a concise guide to help you get started:
- Choosing the Right Wood: Opt for woods like maple, oak, or birch for their smooth surfaces and consistent grain patterns.
- Design Preparation:
- – Use vector graphic software (e.g., Adobe Illustrator) to create your design.
- – Ensure the design is scalable and suitable for laser engraving.
- Setting Up Your Laser Engraver:
- – Place the wood on a flat surface, ensuring it’s secure during engraving.
- – Adjust settings like power and speed based on the wood type and desired depth.
- Engraving Process:
- – Import your design into the laser software and position it correctly.
- – Start with lower power to avoid burning and gradually increase as needed.
- – Monitor the process, especially for intricate designs or delicate areas.
- Post-Engraving Touch-Ups:
- – Sand any rough edges for a smooth finish.
- – Consider staining or painting to enhance your design.
- Safety Precautions:
- – Wear protective eyewear and ensure good ventilation.
- – Follow the manufacturer’s guidelines for safe operation.
- Maintenance Tips:
- – Regularly clean the machine to prevent dust buildup.
- – Inspect and clean the laser lens to maintain focus quality.
- Creative Applications:
- – Personalized furniture, decorative signs, and custom gift items are just a few possibilities.
By following these steps, you can create stunning laser-engraved wood pieces. Stay patient, experiment with different techniques, and always prioritize safety for an enjoyable and productive crafting experience. Happy engraving!