
The Essential Guide to Building Your Own DIY Laser Cutter Fume Extractor
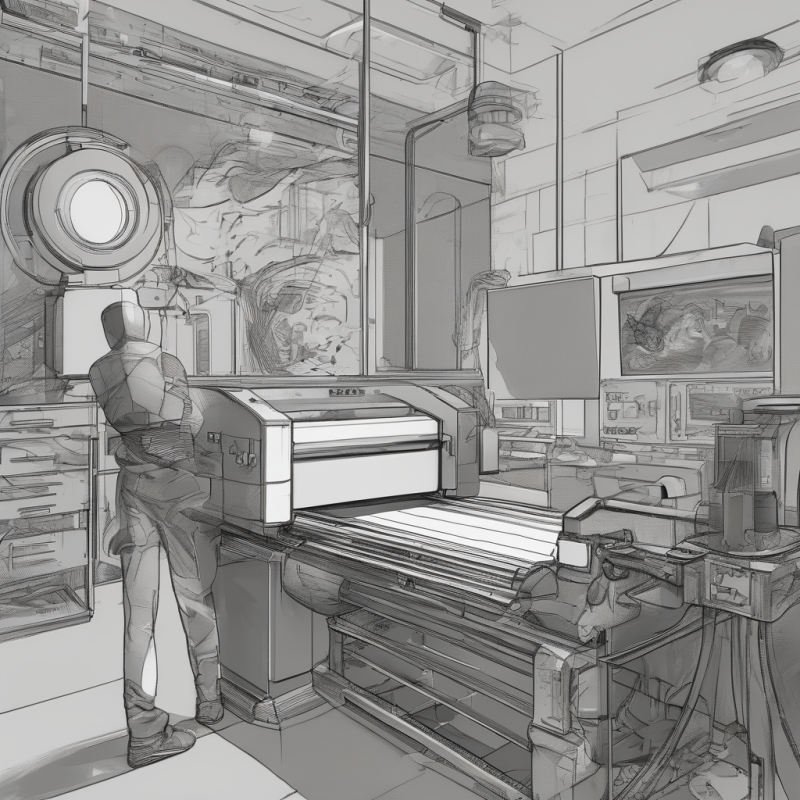
When working with laser engravers or cutters, safety is paramount. One of the most critical aspects of using a laser engraver is ensuring proper ventilation to remove harmful fumes and particulates generated during the cutting or engraving process. While commercial-grade systems often come equipped with built-in fume extraction systems, those who rely on a diy laser cutter fume extractor must create their own solution.
In this article, we’ll guide you through the process of building your own DIY laser cutter fume extractor, discuss its importance, and provide tips for maintaining a safe workspace. Whether you’re a hobbyist or a small-scale manufacturer, understanding how to manage fumes is essential for both safety and efficiency.
—
Why You Need a Laser Cutter Fume Extractor
Laser cutting and engraving generate a variety of hazardous substances, including particulate matter, volatile organic compounds (VOCs), and noxious gases. These byproducts can pose serious health risks if not properly ventilated.
- Particulates: Tiny particles of material being cut or engraved can become airborne and inhaled, leading to respiratory issues over time.
- VOCs: Many materials release harmful chemicals when heated, such as formaldehyde or acetone.
- Gases: Some materials produce toxic gases during the cutting process, which can be dangerous even in small quantities.
Without a laser cutter fume extractor, these substances can accumulate in your workspace, creating an unsafe environment. Even if you’re using a high-quality laser engraver like the one found at [diy laser cutter fume extractor](https://commerciallaserprinter.com/product/laser-engraver-best-laser-egravers-home-use-for-wood/), ensuring proper ventilation is critical for protecting your health and maintaining optimal performance.
—
How to Build Your Own DIY Laser Cutter Fume Extractor
Building a DIY laser cutter fume extractor doesn’t require advanced engineering skills, but it does demand careful planning and attention to detail. Below is a step-by-step guide to creating an effective system:
1. Assess Your Needs
Before building your extractor, consider the following factors:
– **Material Types**: What materials will you be cutting or engraving? Different materials produce varying amounts of fumes and particulates.
– **Work Area Size**: A larger workspace may require a more robust extraction system.
– **Budget**: Determine how much you’re willing to spend on components.
2. Gather Materials
Here’s a list of essential components:
– A **ductless fume extractor** or **laser cutter exhaust fan** (can be purchased online or repurposed from other equipment).
– Ducting or tubing to connect the extractor to your laser engraver.
– Filters (HEPA or activated carbon, depending on your needs).
– Mounting hardware for securing the extractor.
3. Design Your System
Sketch out a layout of your workspace and decide where to place the extractor. Ensure it’s positioned to capture fumes as close to the source as possible.
4. Assemble the Components
Follow these steps:
1. Attach the ducting to your laser engraver.
2. Connect the ducting to the fume extractor.
3. Install filters according to the manufacturer’s instructions.
4. Test the system for proper airflow and ensure no leaks are present.
5. Fine-Tune Your Setup
Adjust the placement of the extractor or the length of the ducting as needed to maximize efficiency.
—
Benefits of Using a DIY Laser Cutter Fume Extractor
Investing time and effort into building your own laser cutter fume extractor offers numerous benefits:
- Cost Savings: Building your system can be more affordable than purchasing a commercial-grade unit, especially if you already have some components on hand.
- Customization: You can tailor the design to fit your specific workspace and needs.
- Improved Safety: A well-designed extractor significantly reduces exposure to harmful fumes and particulates.
Is building your own extractor worth the effort? For many hobbyists and small-scale manufacturers, the answer is yes. Not only does it improve safety, but it also enhances productivity by ensuring a cleaner, healthier workspace.
—
Maintaining Your DIY Laser Cutter Fume Extractor
To ensure your DIY laser cutter fume extractor remains effective over time, regular maintenance is essential:
– Clean or Replace Filters: Depending on usage and the types of materials processed, filters may need to be cleaned or replaced every few months.
– Inspect Ducting: Check for leaks or damage that could reduce efficiency.
– Test Airflow: Periodically verify that the extractor is functioning properly by monitoring airflow rates.
By staying proactive with maintenance, you can extend the lifespan of your system and maintain a safe working environment.
—
Final Thoughts
Building your own laser cutter fume extractor is a practical solution for those looking to enhance safety and efficiency in their workspace. While it may require some initial effort and investment, the long-term benefits far outweigh the costs.
If you’re unsure about building your system from scratch, consider purchasing a pre-made unit like the one available at [diy laser cutter fume extractor](https://commerciallaserprinter.com/). Regardless of the approach you take, prioritizing ventilation is key to ensuring a safe and productive workspace.
Remember, safety should always come first when working with laser engravers. By implementing proper ventilation measures, you can protect yourself and extend the life of your equipment. Happy creating!